Create your first invoice at Invoice Temple
A day to day business needs several things to figure out to run a business smooth and effectively. Invoicing is one of the crucial element to handle sales and book keeping. Invoicing is an important part of this process because it helps with sales management and bookkeeping. Invoice Temple simplifies the process of producing, sending, and collecting invoice payments. In this article, we'll walk you through how to make your first invoice with Invoice Temple.
We are going to see how easily create invoices, send it to clients and get faster payments.
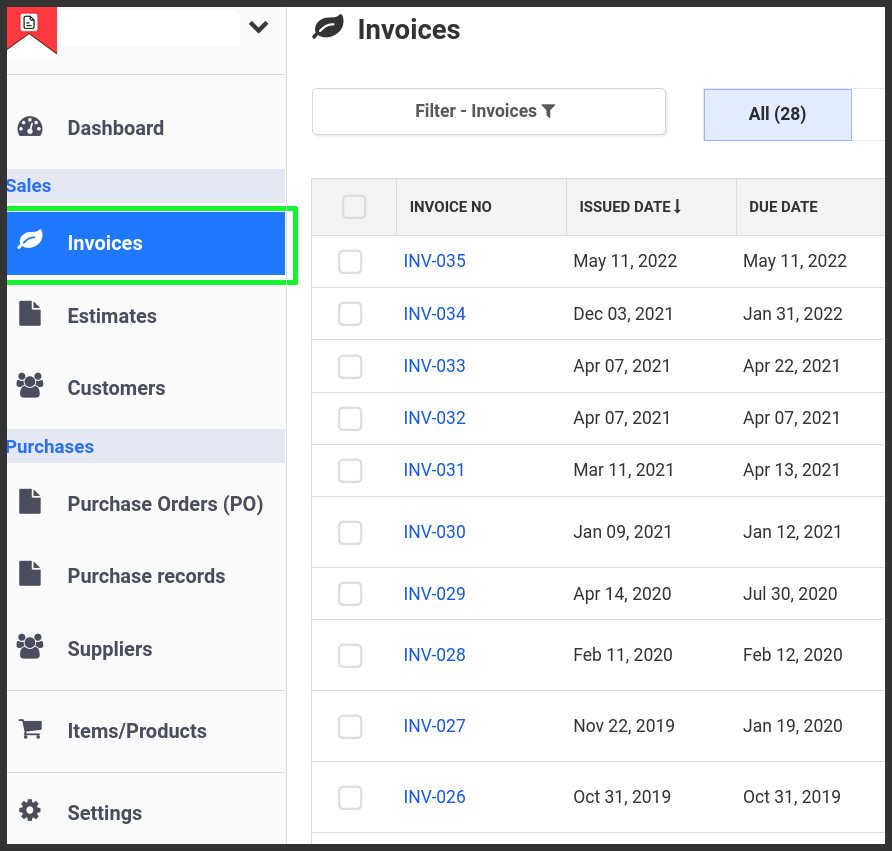
1.Go to Invoices on the left menu
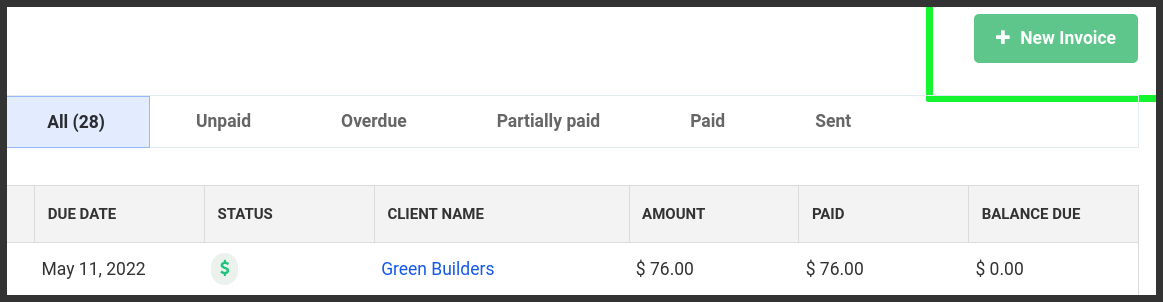
2. Click New invoice button
3. Open invoice Editor window.
Enter Business address on the invoice. No need to enter again from the next time on wards.
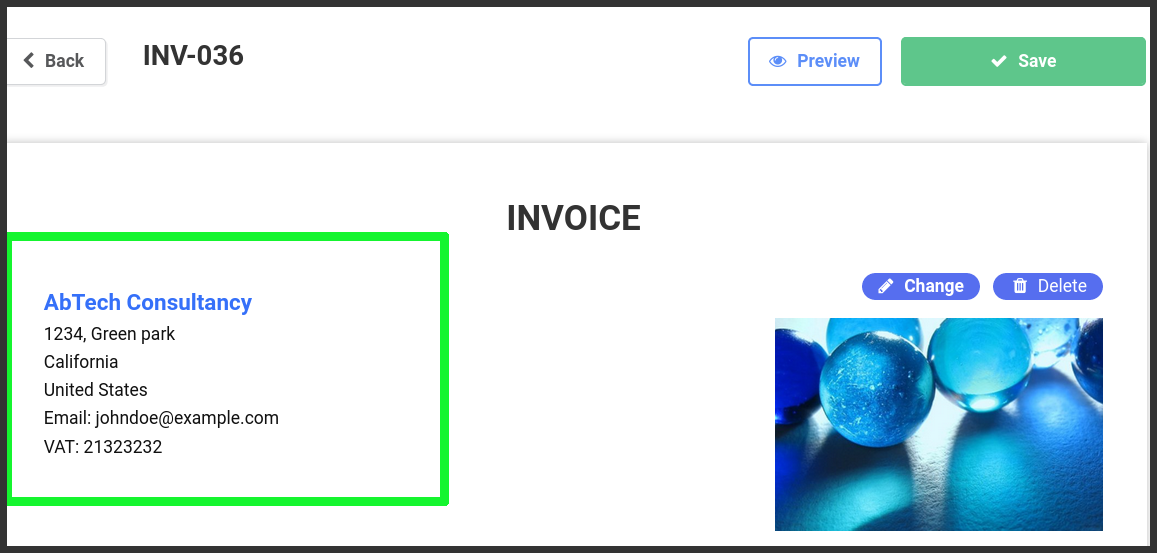
4. Add logo on click on the right side of the address
5. Client
* Add new client
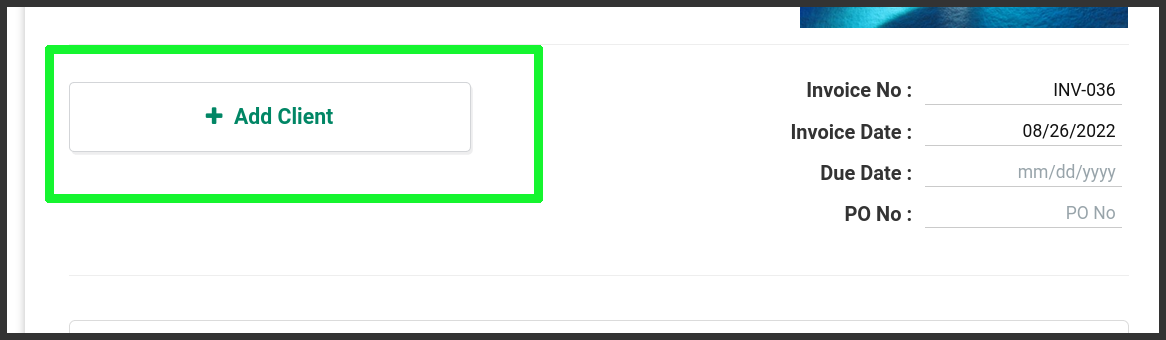
* Provide your client name, address, phone no, email etc.
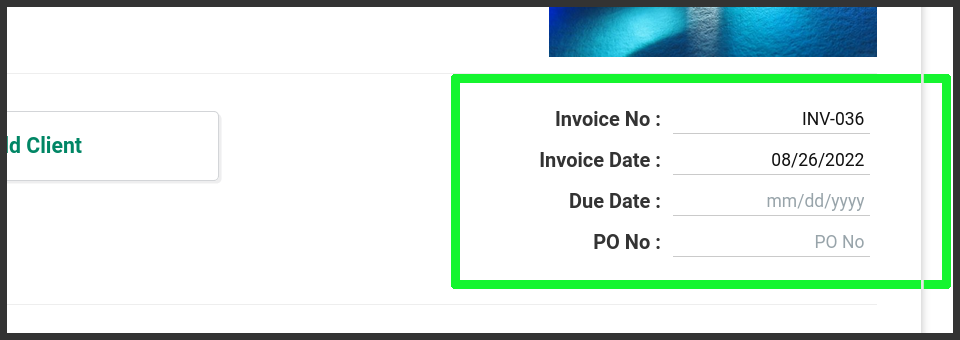
6. Invoice Details
Provide input of your invoice's invoice number, invoice date, due date(optional)
7. Items
Add your products on the item table one by one.
Click on the (+) button to add product/item to the invoice.
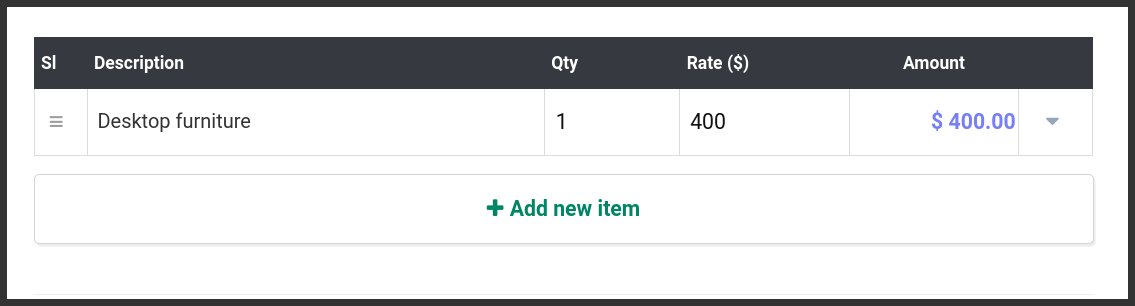
Description: Product or service name that you wish to sell
Qty: Number of items
Rate: Rate/Price of the product
8. Payment instruction.
Payment instructions helpful to specify the payment method that you receive the invoice payment from the customer.
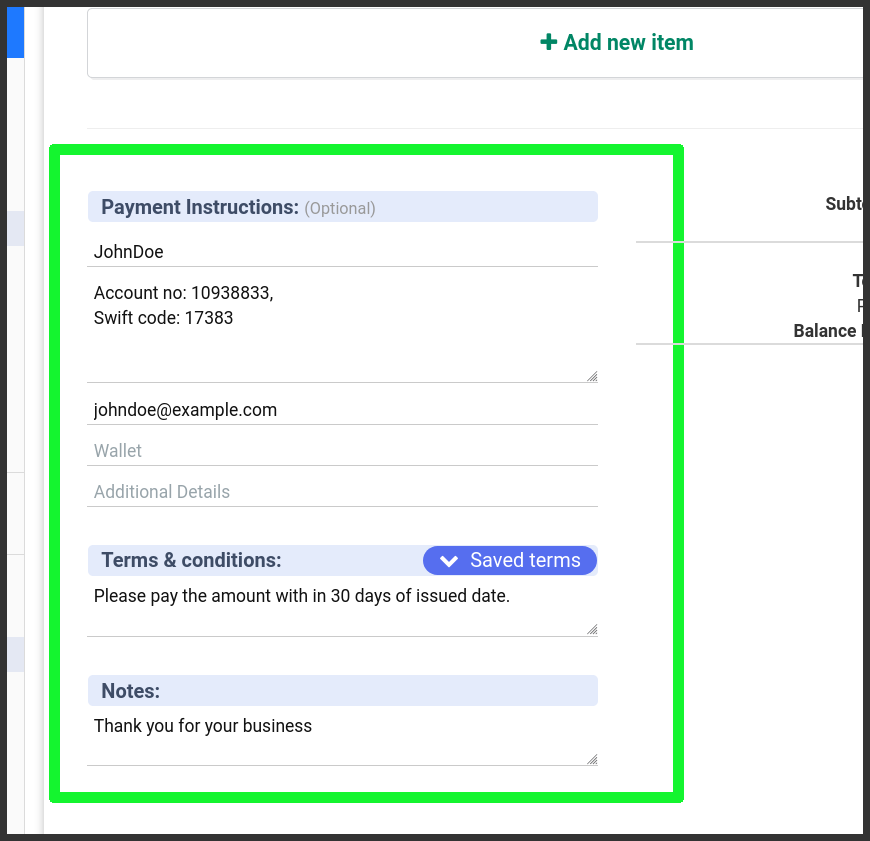
Most commonly used payment methods are available such as Cheque, Bank account no., PayPal, Wallets (Google pay, apple pay, phonepe, etc..) and add additional information that can help the client understand your payment instruction with more clarity.
9. Terms & Conditions
Tell your customers your terms.
Some examples:
- Pay the invoice amount in certain amount of time like before 15, 30 days.
- Refund available or not available once shipped.
- Return accepts in within 5 days after delivery of the product.
- etc.
Notes: Add notes to your customers.
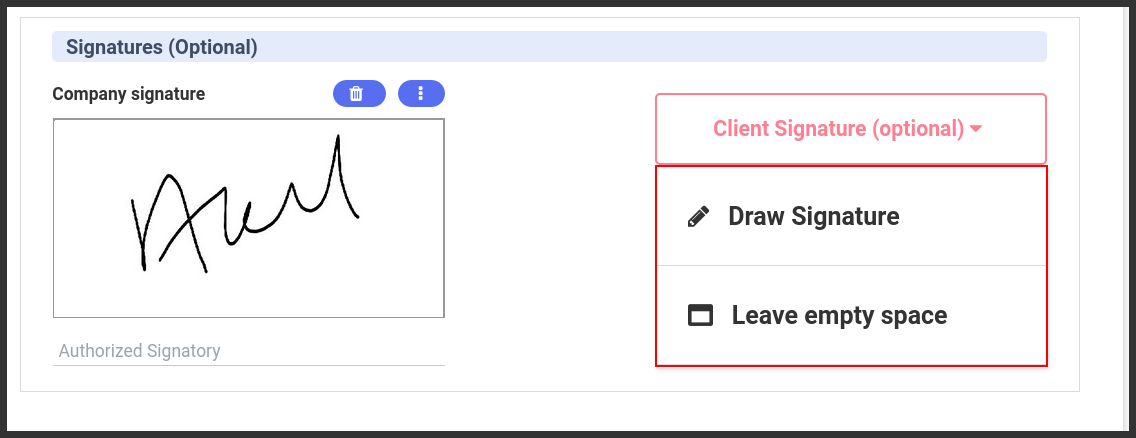
10. Signature: (optional)
You can draw your own signature and get digital signature from the customers also if necessary.
Final Step:
Preview and save the invoice.
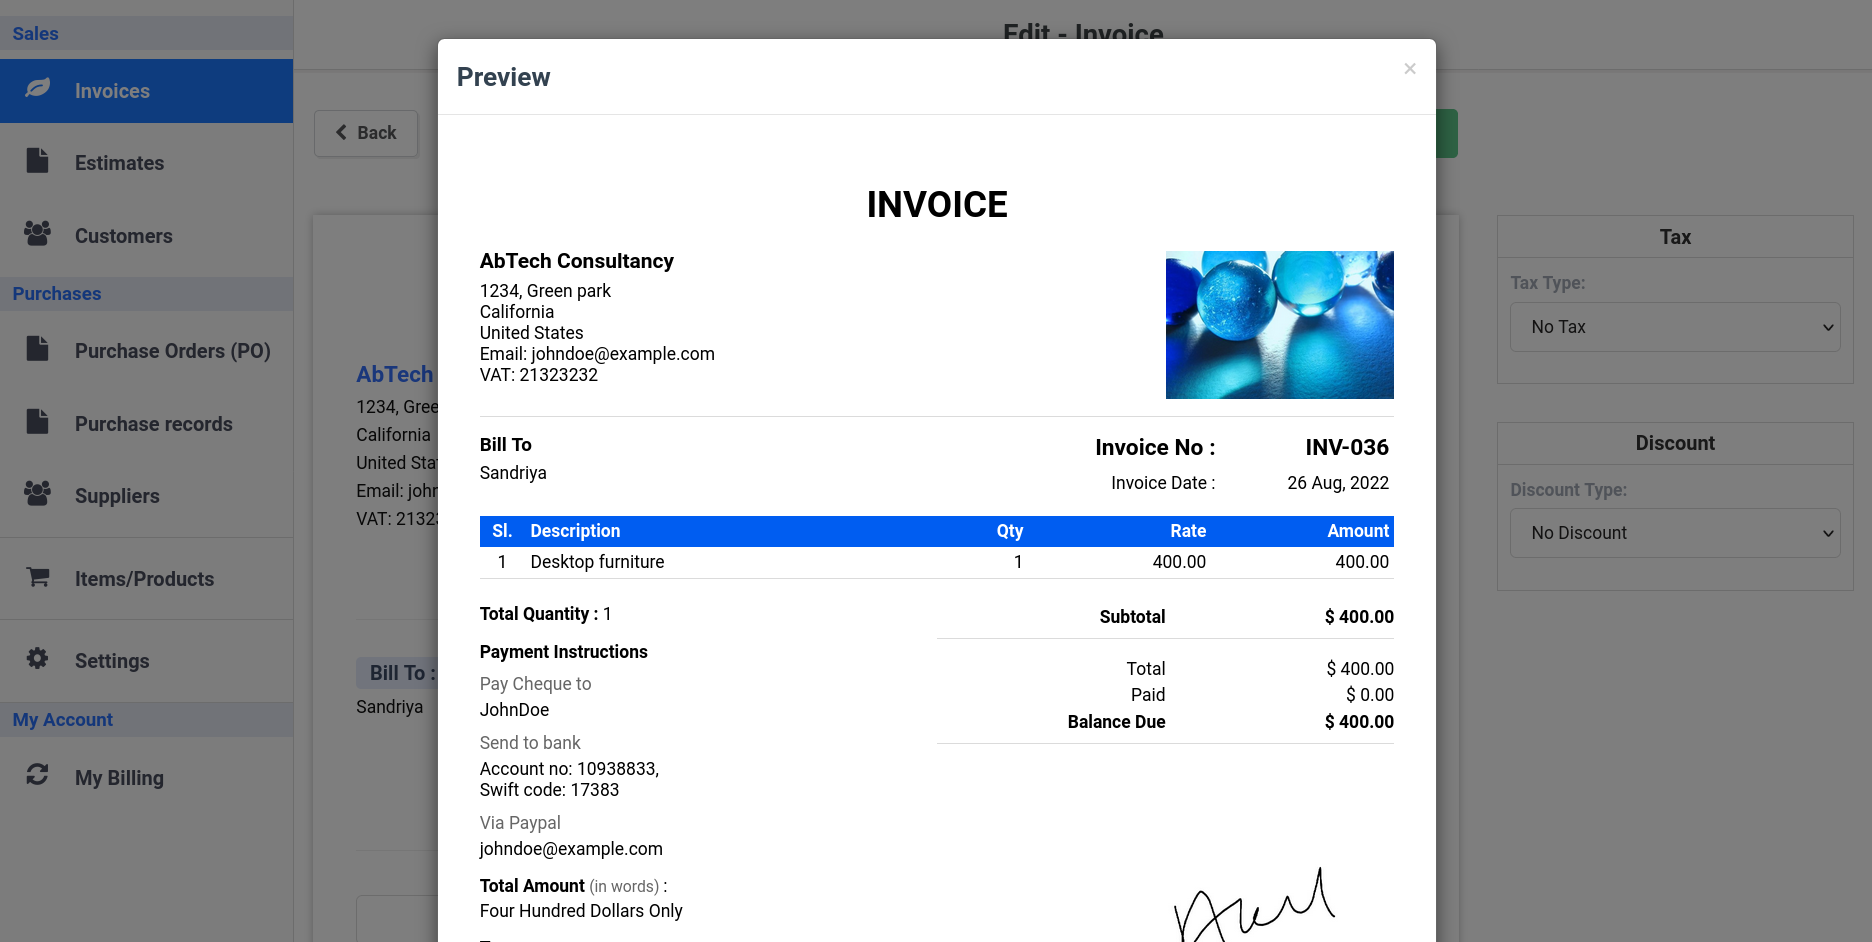
Once the invoice is saved and it ready to send to your customer. Invoice can be send via email or you can download the invoice by yourself.
Additional Tips for Effective Invoicing
- Automate Recurring Invoices: For clients with ongoing services or subscriptions, set up recurring invoices to streamline the billing process.
- Track Invoice Status: Monitor the status of your invoices to ensure timely payments. Follow up on overdue invoices promptly.
- Provide Multiple Payment Options: Offering various payment methods increases the chances of receiving payments on time.
- Maintain Professionalism: Ensure your invoices are well-organized and professional-looking to reflect positively on your business.
- Keep Records: Maintain detailed records of all invoices for accounting and tax purposes.
By following these steps and utilizing Invoice Temple's features, you can simplify your invoicing process, improve cash flow, and maintain a professional relationship with your clients. Start creating your first invoice today and experience the efficiency of Invoice Temple.
Thanks.